5 Cat Essentials You Can DIY

Owning a kitty doesn’t have to be costly. Reduce the cost of having a cat in the family by DIY-ing these cat essentials.
Having a cat in your family is a 20-year personal and financial commitment.
But, having one doesn’t have to be expensive if you are able to save on the necessary consumables for your furry friend.
Here are five DIY ways to save money on these everyday items.
1. DIY Cat Litter
Collect about two weekday’s worth of newspapers and shred the pages up (using a paper shredder or by hand) into tiny strips. Place all the shredded paper into an empty litter box.
You may want to use rubber gloves for the next two steps.
Wet the paper with warm water and add 1/3 cup of dish soap and mix it in. Drain the excess water through a colander or strainer. Then put the soggy, soap-infused paper back into the litter box and sprinkle 1/4 cup of baking soda over the paper. Knead it in.
Again, drain the water off the paper thoroughly, squeezing clumps of paper into balls and draining as much water out of the paper as you can. Then crumble the damp paper balls out on a screen to dry for a couple of days until completely dry.
When it is ready for use, you will notice that this litter is softer than most litters on the market, which is great for declawed cats.
Related: Cheaper Kitty Litter Alternatives
Sign Up for Savings
Subscribe to get money-saving content by email that can help you stretch your dollars further.
Twice each week, you'll receive articles and tips that can help you free up and keep more of your hard-earned money, even on the tightest of budgets.
We respect your privacy. Unsubscribe at any time.
2. DIY Scratching Post
First, you’re going to need your base plate, which is a square piece of wood (15 inches by 15 inches and 1/4 inch thick).
Next, you will need a thick tree branch that is at least five inches in diameter and about 24 inches long. Preferably, the branch will still have the bark on it. The ends of the post should be level, especially the bottom end which will be attached to the plate.
You may want to varnish or paint the base plate before proceeding.
To mount the post, line it up in the exact center of the base plate and drive two three-inch nails through the bottom of the plate to affix the post to it and to prevent it from turning.
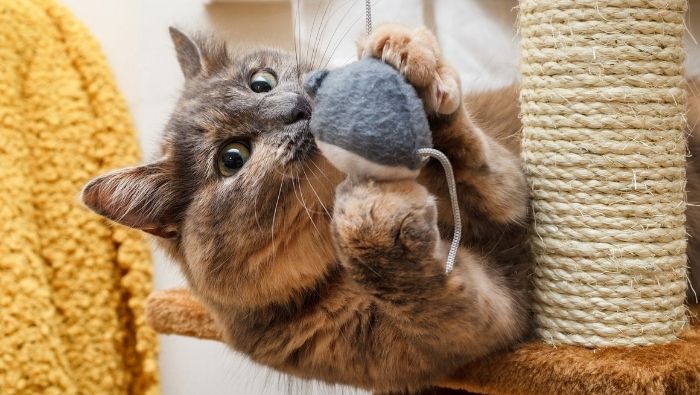
3. DIY Cat Toys
Instead of throwing out winter mittens that have a hole in a finger or two, cut off the “good fingers” and cut the palm of the mitten into tiny strips. Wet these strips and sprinkle them with catnip. Then stuff them into the cut off fingers and sew the fingers up.
You can create a mouse-like appearance for these stuffed toys by sewing eyes on the “tip of the finger” and stitching a small string of yarn on the other end for a tail. Tiny triangles of cloth can be sewn on for ears.
Cats, as you may know, love wool and catnip, so this toy is sure to be a hit!
4. DIY Cat Treats
For the simplest one, take your regular dry kibble food and make it damp with water (or fish oil) and sprinkle it with a generous amount of catnip, creating a coated treat out of their everyday food.
Another option is to make a batch of treats from scratch. To make an easy cheesy cat treat that will produce a batch of about fifty treats, include:
3/4 cup of shredded cheddar cheese
1/3 cup of grated parmesan cheese
1/4 cup of plain yogurt (or vanilla yogurt or sour cream)
3/4 cup of flour (white or whole wheat)
1/4 cup of cornmeal
1/4 cup of water
- Preheat oven to 350 degrees F.
- Combine cheese and yogurt and then add flour and cornmeal.
- Add enough water to create a dough.
- Form the dough into a ball and then roll it out to a rectangle that is 1/4 inch thick.
- Cut the rectangle into one-inch pieces and place on a greased cookie sheet.
- Bake for about 25 minutes.
After removing from the oven, let cool completely. It’s best to refrigerate the treats in a sealed container.
Related: 7 Simple Affordable Pet Treats
5. DIY Kibble Feeder
Take an empty soda bottle, remove the wrapping label, and carefully drill tiny holes at various places in the bottle. These holes should be about twice the size of the treats you plan on putting in the feeder.
Fill the feeder with treats, cap the bottle, and let your feline companion knock and roll the homemade slow-feeder around for the delights inside.
Reviewed August 2023
Wouldn't you like to be a Stretcher too?
Subscribe to get our money-saving content twice per week by email and start living better for less.
We respect your privacy. Unsubscribe at any time.
Popular Articles
- 7 Habits of Highly Frugal People
- 5 Simple Budget Cuts That Can Save $200 a Month
- How to Track Down Unclaimed Funds Owed You
- 32 Ways to Save Money on Your Utility Bills
- Do You Need Credit Life Insurance When Buying a New Car?
- How to Maximize Profits When Selling Online
- Staying Motivated to Continue Digging Yourself Out of Debt
On After50Finances.com
- 9 Things You Need to Do Before You Retire
- You Didn’t Save Enough for Retirement and You’re 55+
- When Empty Nesters Reorganize and Declutter Their Home
- Reinventing Your Career in Your 50s or 60s
- What Mature Homeowners Should Know about Reverse Mortgages
- 2 Reasons to Collect Social Security Benefits As Soon As Possible


